
How to Photograph Roof Damage for an Insurance Claim
Good photos don't require special equipment, but they do require a bit of technique. Here's how to make sure yours are actually useful later.
Stay on the ground
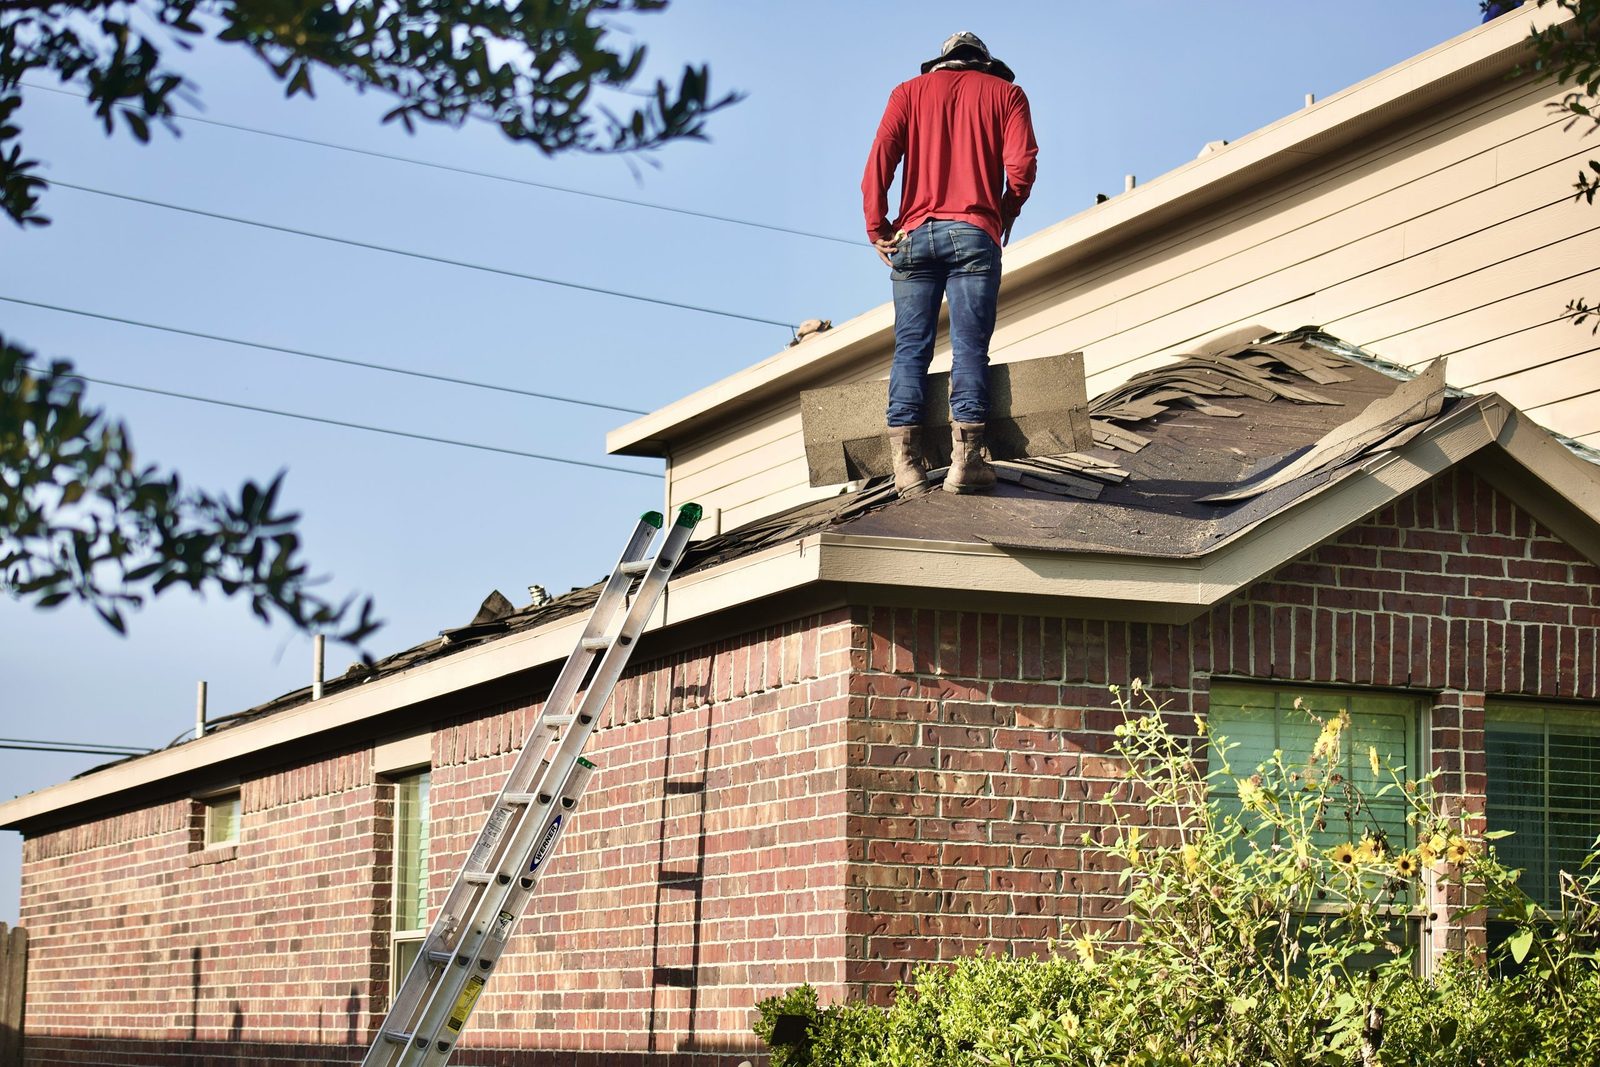
You don't need to be on the roof to get useful documentation, and you shouldn't try. Damaged or wet roofing is more dangerous underfoot than it looks. A wide range of angles from the ground, driveway, and yard captures far more than most homeowners expect.
Get wide shots of every roof plane you can see
Start with a full view of each visible slope before zooming in on anything specific. Wide shots establish overall context — which sections of the roof were affected and which weren't — that close-ups alone can't provide.
Then get close on anything specific you notice
Missing or curled shingles, visible cracks, and anything that looks out of place are worth a closer photo from whatever angle the ground allows, even if it's from a distance with a zoomed-in shot. It's fine if some photos end up redundant — more documentation is better than not enough.
Don't skip the soft metal
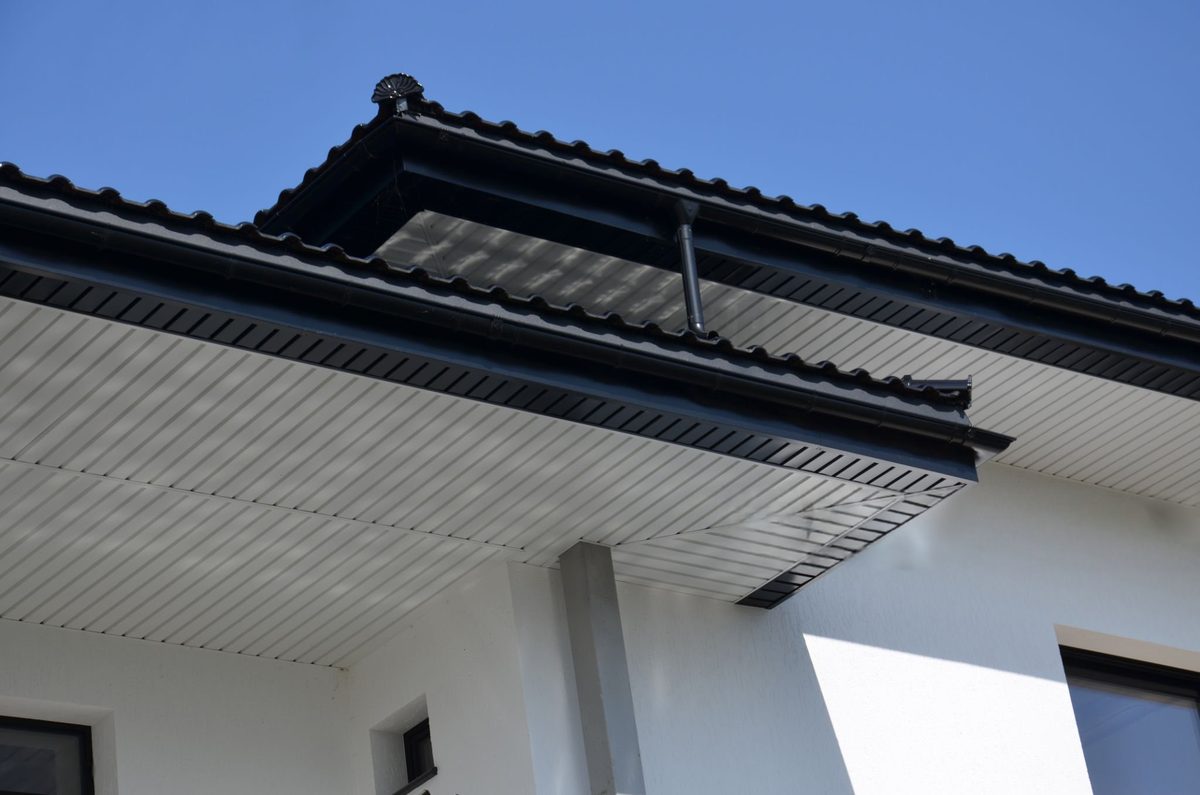
Gutters, downspouts, roof vents and window screens often show hail impact more clearly than shingles do. Photograph these even if the roof itself looks fine from the ground, since dented soft metal is often the first sign that the roof took a real hit worth a closer inspection.
Include something for scale when you can
A coin, a tape measure, or even a common object placed near visible damage helps establish size in a photo, which is more convincing than a close-up with nothing to compare it against. This matters most for hail impact marks, which can be easy to underestimate in a photo without any reference.
Photograph interior damage too, not just the roof
If there's a ceiling stain, damp insulation visible in the attic, or any other sign of water intrusion inside the home, document that as thoroughly as the exterior. Interior damage photos, timestamped close to when you noticed them, help connect the roof damage to its actual consequences for the claim.
Keep photos organized and dated
Group photos by date, and note the approximate date of the storm that caused the damage if you know it. Most phones timestamp photos automatically, but a simple folder structure or a written note alongside them makes it easier for you, your contractor, or your adjuster to follow the timeline later.
What not to do
Don't climb onto the roof to get a better angle, don't edit or filter the photos, and don't wait to take them until right before the adjuster arrives. Documentation taken close to the actual storm date is more credible and more useful than photos gathered weeks later from memory.
Using a phone versus other equipment
A modern phone camera is genuinely sufficient for this purpose in nearly every case. What matters far more than the equipment is coverage — capturing every visible roof plane, every piece of soft metal, and any interior signs of water intrusion — rather than a handful of high-quality shots that miss most of the property.
Sharing your photos with your contractor and carrier
Once your photos are organized, share them with both your contractor and your insurance carrier rather than assuming one will pass them along to the other. Having your own documentation directly in front of the adjuster, in addition to whatever a contractor separately provides, gives you an independent record that isn't dependent on someone else's file.
Photographing damage across multiple structures on the property
If a storm affected more than just the main roof — a detached garage, a shed, a fence line — photograph those areas separately and clearly, since damage across a property is sometimes evaluated as related evidence supporting the same weather event. A complete picture of the whole property helps establish the storm's actual impact, not just what happened directly overhead.
Revisiting your photos before the adjuster's visit
Look back through your own documentation shortly before the scheduled visit, so anything you noticed is fresh and easy to point out in person. It's a quick step that makes the actual appointment go more smoothly, since you're walking in already familiar with what you've documented rather than trying to recall it on the spot.
Frequently asked questions
Do I need professional photos, or are phone photos enough?
Phone photos are generally enough, as long as they're clear, well-lit and cover the roof from multiple angles. A professional inspection with a photographed report adds close-up detail a homeowner's ground-level photos usually can't capture.
Should I take photos before or after calling my insurance company?
Before, if possible, or as soon after as you safely can. Having your own documentation ready before the adjuster's visit gives you a reference point independent of their report.
How many photos are too many?
There's no real upper limit. More thorough documentation is better than sparse documentation, and redundant angles rarely hurt a claim.
Want the number before anyone visits?
Type your address and we'll measure the roof from aerial imagery — area, pitch and every facet — then price it at our published rate per square. About fifteen seconds, and we don't need your phone number to show you the number.
Storm damage?
Get help restoring your property after damage
Our technicians will give you a detailed damage inspection report, so you have everything your insurance company needs to make a decision.